For many homeowners, removing an old tub and installing a shower is a great way to update their bathrooms. It can also be a daunting task, as it is a major undertaking. This article will provide a step-by-step guide to help you get the job done right so you can enjoy your new shower for years to come.
Gather the Necessary Materials
Before you begin the project, make sure you have all the necessary materials on-hand. This includes a shower pan, shower walls, a shower door, a shower valve and trim, showerhead, and drain. You will also need tools such as a hammer, utility knife, and screwdriver.
Prepare the Area
The next step is to prepare the area. Start by turning off the water so you don’t have any accidental flooding. Next, remove any existing tile, grout, or caulk. You may need to use a hammer and chisel to remove the old tile. Once the area is cleared, you can begin the installation process.
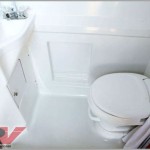
Install the Shower Pan
Installing the shower pan is the most important step in the process. Begin by laying out the shower pan so that it is level and secure. You may need to use shims and screws to ensure the pan is level and secure. Once the pan is in place, you can begin to add the walls.
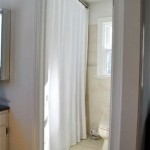
Install the Shower Walls
Next, install the shower walls. You can use mortar or adhesive to secure the walls. Make sure the walls are level and secure before continuing. Once the walls are in place, you can begin to add the shower door and trim.
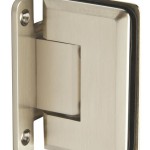
Install the Shower Door and Trim
The next step is to install the shower door and trim. This may require a little more skill and patience. Read the instructions carefully and make sure to use the proper tools. Once the door and trim are in place, you can begin installing the valve and showerhead.
Install the Shower Valve and Showerhead
Now it is time to install the shower valve and showerhead. Begin by attaching the valve to the wall according to the manufacturer’s instructions. You may need to use a wrench for this step. Next, attach the showerhead to the valve. Make sure the connections are secure before continuing.
Connect the Drain
The last step is to connect the drain. Make sure the drain is level and secure before connecting it to the shower pan. Once the drain is in place, you can turn the water back on and test the shower. Congratulations, your new shower is now ready for use!


Related Posts