Removing a shower door can be a hassle, but it doesn’t have to be. With the right tips and tools, you can remove your shower door quickly and safely. This guide will walk you through the steps needed to remove a shower door, so you can get the job done right.
Step 1: Gather Your Tools
The first step in removing your shower door is to gather the tools you will need. You will need a screwdriver, pliers, and a putty knife. Make sure you have all of these tools on hand before you begin.
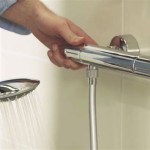
Step 2: Remove the Door Hinges
Once you have all of your tools, you can begin to remove the door hinges. Start by unscrewing the top hinge, then the bottom hinge. Be sure to keep track of all of the screws and other hardware.
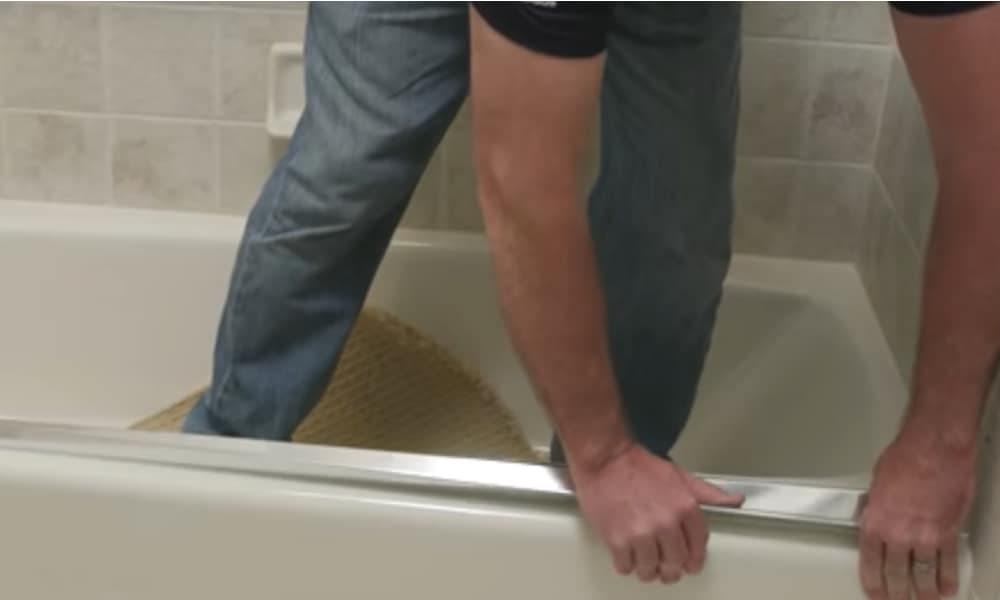
Step 3: Remove the Door Frame
Next, use your putty knife to remove the door frame. Carefully pry off the frame from the wall, then remove any remaining screws or hardware. Make sure you save the screws and other pieces for later.
Step 4: Remove the Tracks
Once the frame has been removed, you can remove the tracks. Start by unscrewing the top track, then the bottom track. Be sure to save all of the screws and other hardware.
Step 5: Remove the Glass
Once the tracks have been removed, you can remove the glass. Carefully slide the glass out of the frame and set it aside. Be sure to save the glass for later.
Step 6: Clean Up
Once the door has been removed, it’s time to clean up. Gather all of the screws and hardware, then dispose of them properly. Vacuum up any dust or debris, then wipe down the area with a damp cloth.
Step 7: Install Replacement Door
Once the area is clean, you can begin to install the replacement door. Start by attaching the hinges to the wall, then attach the tracks. Once the tracks are in place, you can slide the glass into the frame and secure it with the screws. Finally, reattach the frame and you’re done!


Related Posts