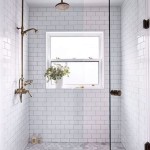
A claw tub is a classic, vintage-style bathtub with four claw-like feet. Although claw tubs are usually installed without a shower, you can also install a shower head to your claw tub for a more modern and convenient bathing experience. Installing a claw tub shower is a simple process that only requires a few tools and materials.
Tools and Materials Needed
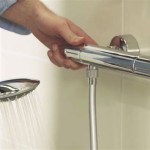
When installing a claw tub shower, you’ll need the following tools and materials: a claw tub, a showerhead, a shower riser pipe, a shower arm, a showerhead flange, a shower valve, mounting hardware, plumber’s tape, and a wrench. If you’re replacing an existing showerhead, you’ll also need a pipe wrench.
Step-by-Step Guide to Installing a Claw Tub Shower
Installing a claw tub shower is a fairly simple process that anyone can do. Here is a step-by-step guide to help you get the job done:
- Begin by removing the existing showerhead and flange (if there is one). Use a pipe wrench to loosen and remove the old showerhead and flange.
- Attach the shower riser pipe to the shower arm. Use plumber’s tape to ensure a tight seal between the two pieces.
- Attach the showerhead flange to the shower arm. Again, use plumber’s tape to ensure a tight seal.
- Attach the showerhead to the showerhead flange. Use the mounting hardware that came with the showerhead.
- Attach the shower arm to the shower valve. Use the wrench to ensure a tight connection.
- Turn on the water and check for any leaks. If there are no leaks, your claw tub shower is now ready to use!
Installing a claw tub shower is a simple process that can be done in a couple of hours. With the right tools and materials, you can easily add a modern, convenient shower to your claw tub in no time!


Related Posts