Are you looking for an easy and affordable way to spruce up your bathroom? A DIY shower remodel could be just what you need! With careful planning and a few simple tools, you can easily update the look of your shower without breaking the bank.
Planning Your Remodel
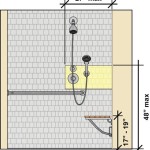
Before you begin any DIY project, it’s important to have a plan. Take measurements of your shower, and decide what type of materials and fixtures you’d like to use. If you’re looking to save some money, consider using materials that are easy to find at your local home improvement store, such as tile or laminate.
Once you’ve finished planning your remodel, it’s time to gather the necessary materials and tools. Depending on the scope of your project, you may need to rent or purchase special tools, such as a tile saw or grout float. Make sure you have everything you need before you start to avoid any costly delays.
Removing Old Materials
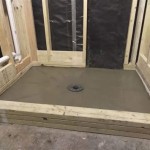
Before you can install the new materials, you’ll need to remove any existing fixtures and materials. This could include things like tile, drywall, or old caulking. Use a utility knife to cut away any old caulk, and use a pry bar to remove any tiles.
Once the old materials are removed, take a few minutes to inspect the shower walls. If you see any cracks or damage, make sure to repair them with a patching compound before you begin installing the new materials.
Installing New Materials
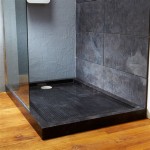
Now that your shower is ready, it’s time to install the new materials. Start by laying out the tiles or panels in the desired pattern, making sure to mark the layout with a pencil. Once you’re happy with the layout, you can begin applying the adhesive and installing the tiles or panels.
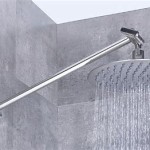
For tile installations, you’ll also need to apply grout to the gaps between the tiles. After the grout has dried, you can begin installing the fixtures, such as the shower head, faucet, and handles. Make sure to follow the manufacturer’s instructions for installation.
Finishing Touches
Once all of the materials and fixtures have been installed, you can move on to the finishing touches. Apply a bead of caulk to the seams between the tile and the shower walls. This will help prevent water from seeping through and damaging the walls. You can also add a few decorative touches, such as tile accents or a bath mat.
With a few simple tools and some careful planning, you can easily give your shower a new look with a DIY remodel. In no time at all, you can transform your bathroom and create a stylish and inviting space.


![]()


Related Posts

