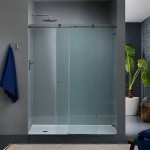
Converting a tub to a shower is an excellent way to update your bathroom and increase its functionality. Whether you’re looking for more convenience or just want a stylish new look, this project can be completed in a few simple steps. This guide will walk you through the process of converting a tub to a shower.
Step 1: Gather the Necessary Supplies
Before you start, you’ll need to make sure you have the right supplies. Gather the following items:
- Tub drain and overflow assembly
- Shower drain assembly
- Shower valve
- Tub spout
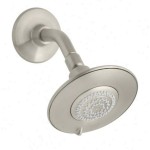
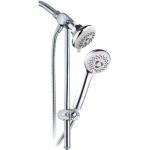
- Shower head and hose
- Shower wall panels (if applicable)
- Nails, screws, and mounting hardware
You’ll also need a few tools, such as a drill, screwdriver, and adjustable wrench.
Step 2: Remove the Existing Tub
Once you have all the supplies, you can begin to remove the existing tub. Start by disconnecting the drain and overflow assembly. You may need to use a wrench to unscrew the nuts. Next, remove the tub spout and any other fittings. Finally, remove the tub itself. If it’s a drop-in tub, you may need to cut it out with a reciprocating saw.
Step 3: Install the New Shower Drain
Now it’s time to install the new shower drain. Start by lining up the drain assembly with the drain opening in the floor and marking the position of the holes. Next, drill the holes and insert the screws. Secure the drain assembly with the mounting hardware. After that, connect the drain pipe to the shower drain.
Step 4: Install the Shower Valve
Once the drain is in place, you can install the shower valve. Start by mounting the valve in the wall. Cut the holes for the pipes and fit the pipes into the valve. Secure the pipes with the mounting hardware, then connect the pipes to the drain assembly. Finally, connect the shower head and hose to the valve.
Step 5: Install the Wall Panels
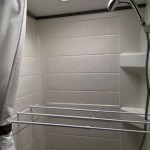
If you’re installing shower wall panels, you’ll need to install them now. Start by measuring the walls and cutting the panels to size. Secure the panels to the walls with nails or screws, depending on the type of panel. Once all the panels are in place, you can connect them together at the corners with caulk or waterproof tape.
Step 6: Test the Shower
Once all the components are in place, it’s time to test the shower. Start by turning on the water and checking for any leaks. If all is well, turn on the shower and check the water pressure. Make any necessary adjustments and you’re done!
Conclusion
Converting a tub to a shower is a relatively simple project that can be completed in a few hours. With the right supplies and tools, you can easily update your bathroom and enjoy the convenience of a shower.


Related Posts

