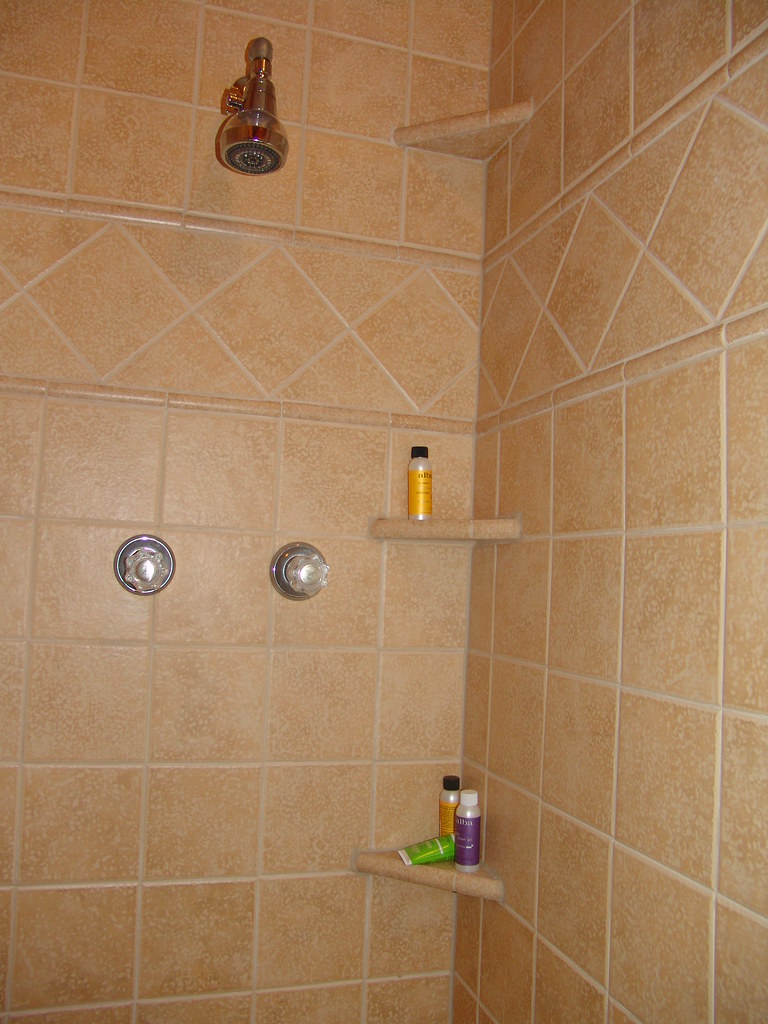
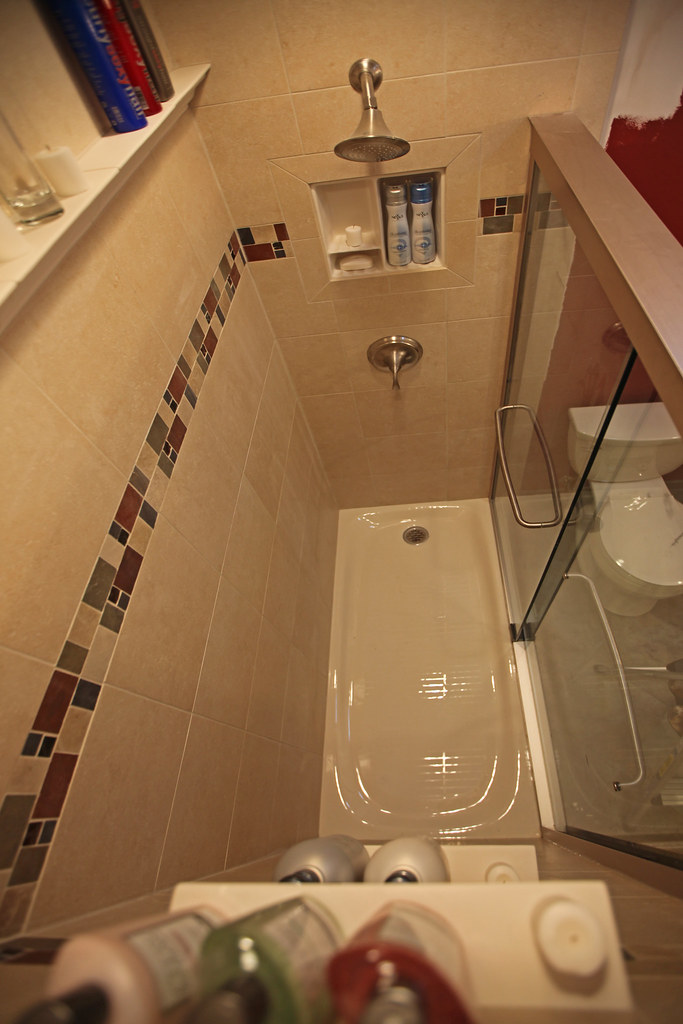
Installing ceramic tile shower shelves is a great way to add a stylish and functional element to your bathroom. With the right materials and tools, you can easily create a unique and beautiful shelf that will last for years. Read on to learn how to install ceramic tile shower shelves.
Materials Needed
Before you get started, gather the following materials:
- Tiles
- Tile adhesive
- Grout
- Mixing bucket
- Notched trowel
- Sponge
- Grout float
- Caulk
- Caulking gun
- Caulk cleaner
- Ceramic tile shelf
- Drill
- Screws
- Level
Step-by-Step Instructions
The following steps will guide you through the process of installing ceramic tile shower shelves:
- Measure the area where you want to install the shelf. Make sure the shelf is the right size for the space.
- Cut the tiles to the desired size. You can use a wet saw for this.
- Spread the tile adhesive on the wall using a notched trowel. Press each tile firmly into the adhesive.
- Wait for the adhesive to dry completely before continuing.
- Mix the grout according to the instructions on the package. Spread it over the tiles with a grout float.
- Use a damp sponge to wipe away the excess grout. Allow the grout to dry completely.
- Caulk around the edges of the shelf to seal it in place.
- Drill pilot holes into the wall and secure the shelf with screws.
- Use a level to ensure the shelf is even. Make any necessary adjustments.
- Clean off any excess caulk with a caulk cleaner.
Tips for Installing Ceramic Tile Shower Shelves
To get the best results when installing ceramic tile shower shelves, keep the following tips in mind:
- Make sure the tiles you choose are suitable for bathroom use.
- Mix the grout to the right consistency for easy application.
- Take your time when installing the tiles to ensure everything is even and secure.
- Caulk around the edges of the shelf to ensure it is watertight.
- Use screws to securely mount the shelf to the wall.
Installing ceramic tile shower shelves is a great way to add a stylish and functional element to your bathroom. With the right materials and tools, you can easily create a unique and beautiful shelf that will last for years. Follow the steps and tips outlined above to get the job done right.


Related Posts


